
THE OPENING
We check what is already there: sill, sides, head, and how square it is.
How we work
How we look at each window opening, what changes the scope, and why the written estimate lists the approach opening by opening.
Photo guide
The easiest way to understand the scope is to look at what is actually at the opening.
A replacement window is easier to understand when you can see the work happening at the opening.
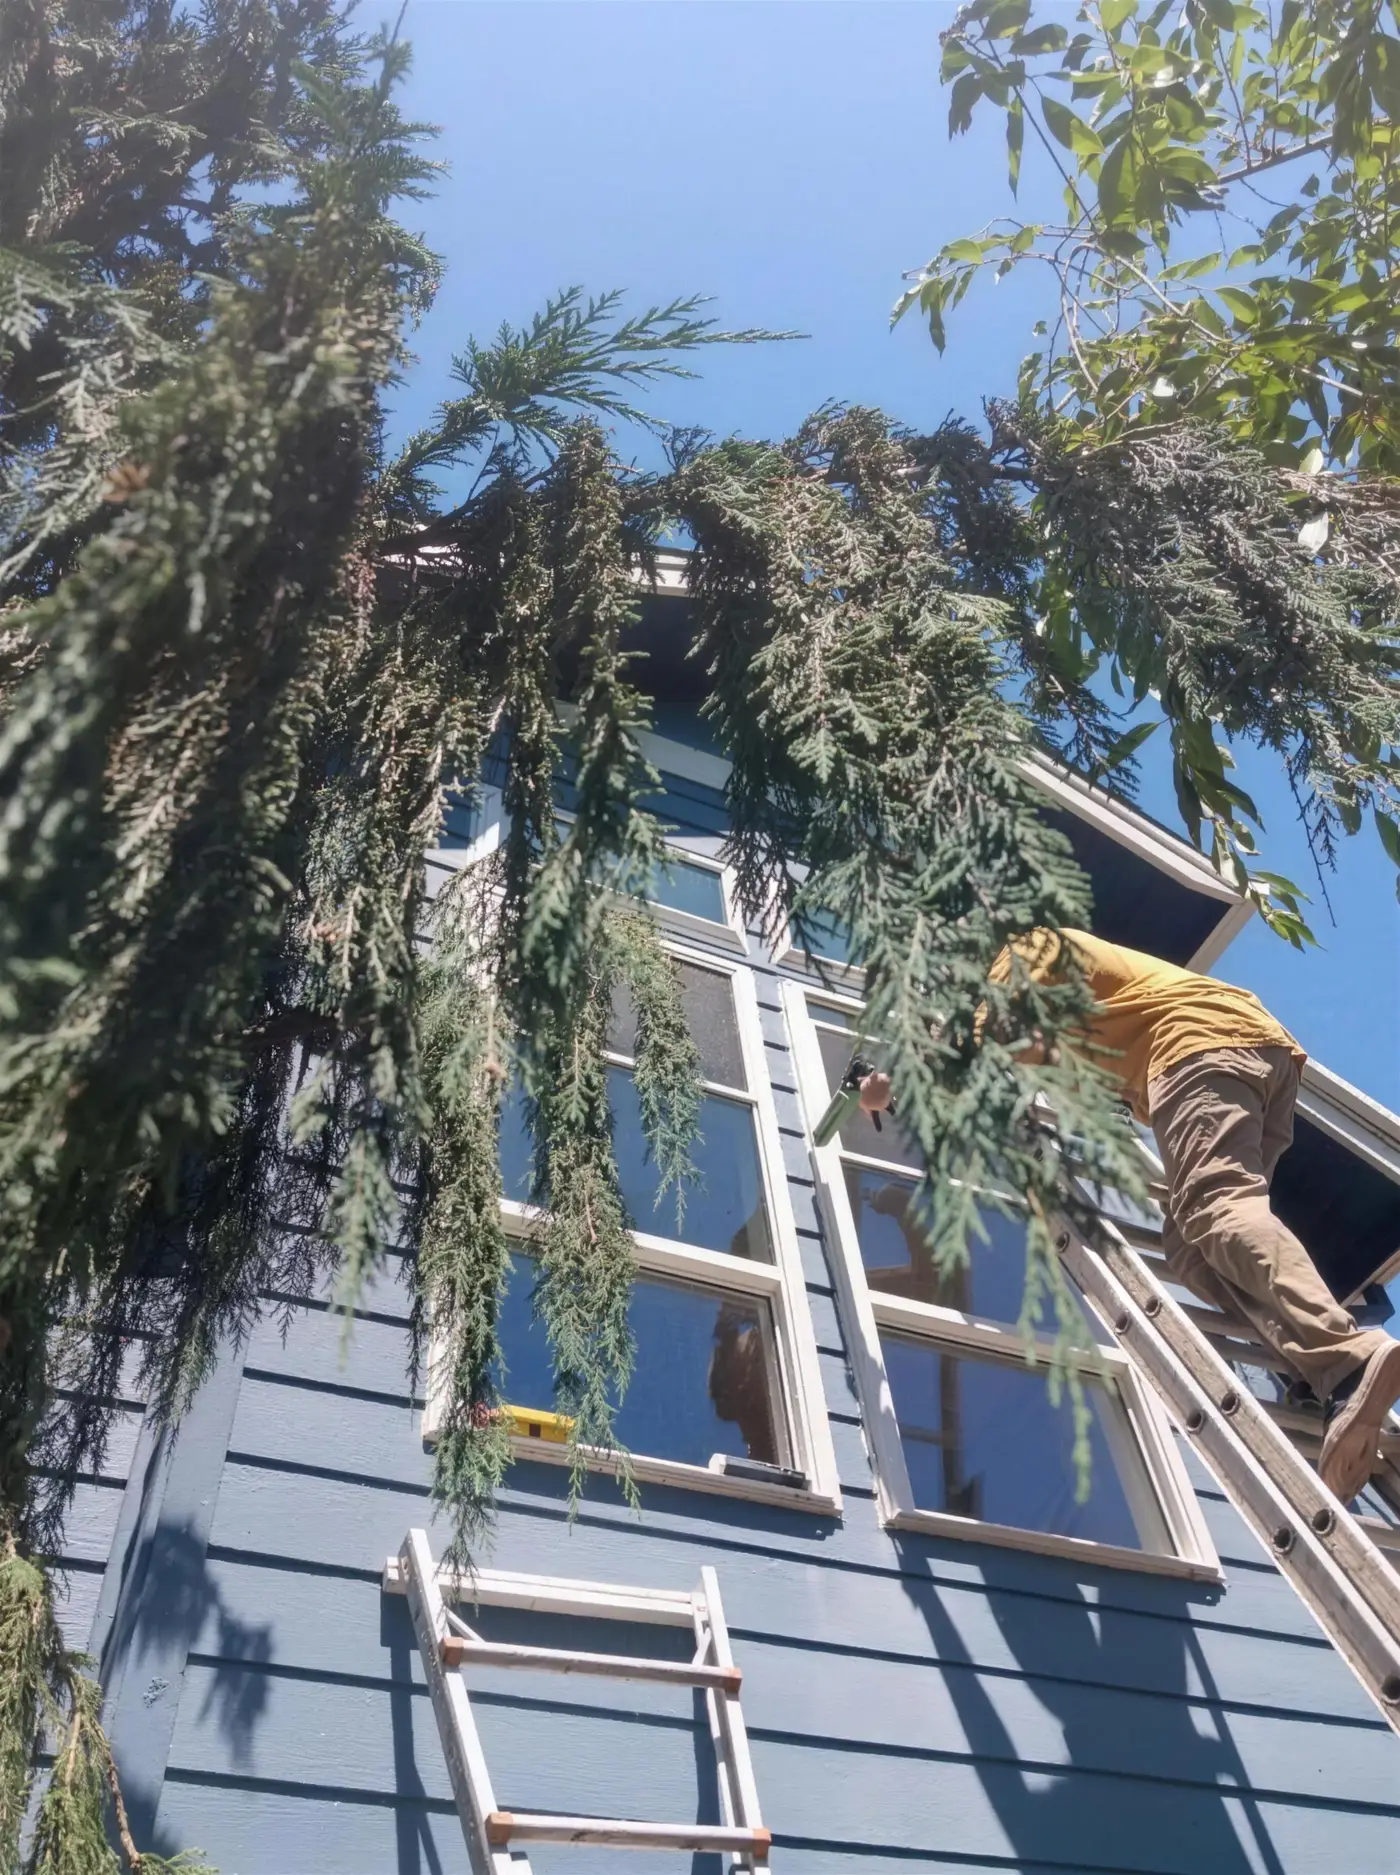 CLEARVIEW JOB PHOTO
What to look for
Use the photo to orient yourself, then use the numbered notes to decide what matters at your own opening.
We check what is already there: sill, sides, head, and how square it is.
The right approach for each opening goes in the written estimate.
Trim, siding, flashing, and interior finish can become part of the scope, depending on the opening.
Two houses with the same number of windows can be very different jobs. What sets the scope is the opening each window sits in: how sound it is, how square it is, and what you want the finished window to look like. That is why we do not price from a photo, and why the written estimate covers each opening on its own.
Before we measure, it helps to know:
We do not decide from a photo of the glass. At each opening we check:
Any of these changes the scope, and we would rather find them at the measure than after the old window is out:
A wet wall often needs the opening opened up and repaired, not just a new window placed over the damage.
The estimate lists the approach for each opening instead of one price that could hide a bigger job. If two openings in the same house need different work, the estimate says so and prices them separately.
Openings that need more work take more time on site and more finish work. A mixed house is normal. Read what a Washington project costs for ranges, then get a measure so the number is about your openings.
Flashing is easiest to understand from actual installation work: the opening is prepared first, then the layers overlap so water has a path out.
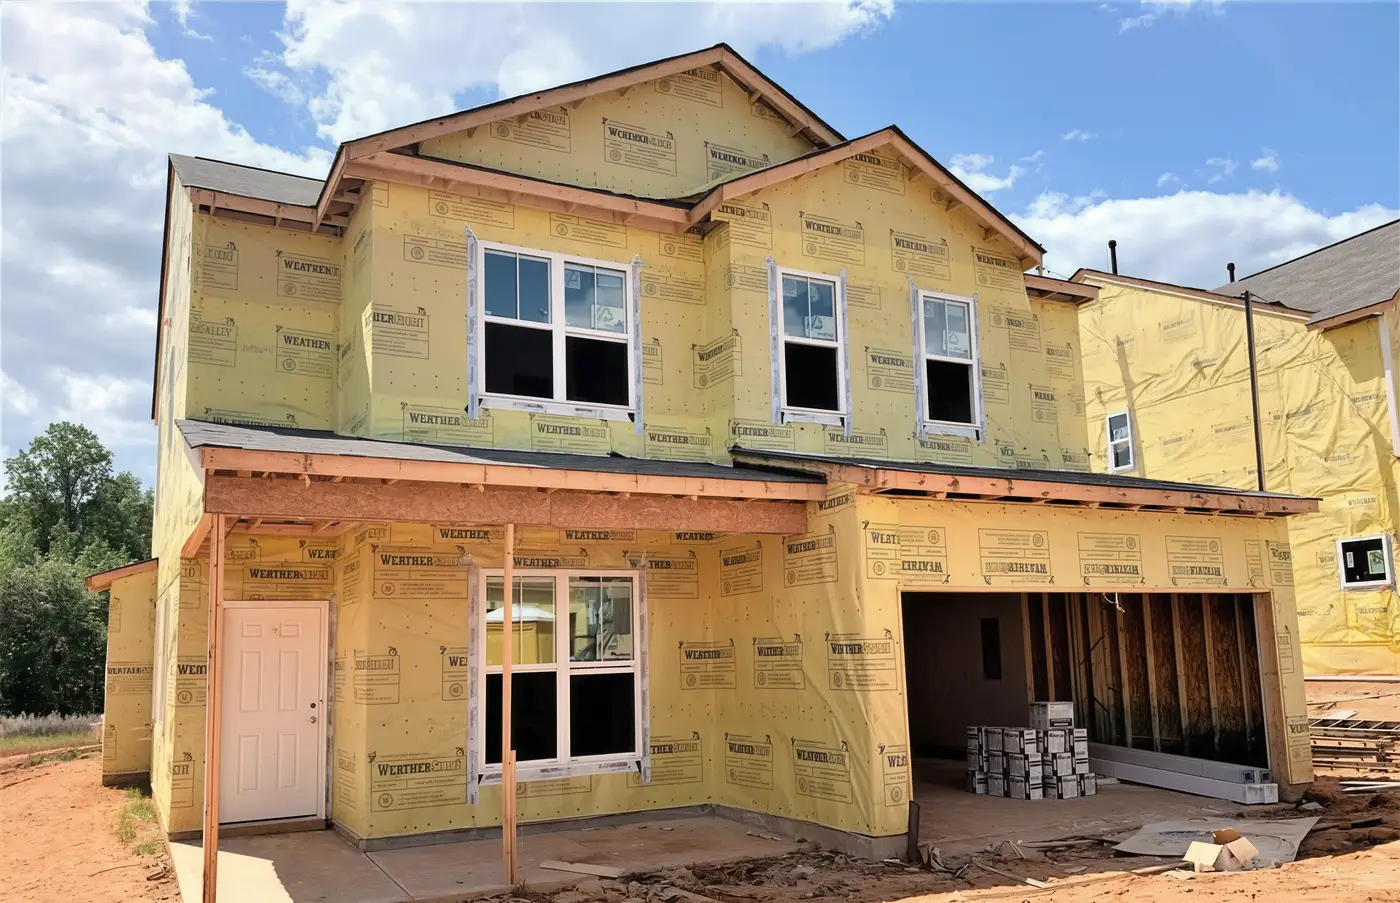 CLEARVIEW JOB PHOTO
What to look for
Use the photo to orient yourself, then use the numbered notes to decide what matters at your own opening.
The bottom of the opening is protected first, so water has a path back outside.
Side flashing connects the window to the prepared opening.
Head flashing overlaps the wall weather barrier and directs water outward.
No. We measure every opening and tell you the right approach in the written estimate. You tell us what you want, such as keeping your trim or changing the look, and we tell you what each opening takes.
Yes. A rotten kitchen sink window may need more work than the bedrooms. The finished elevations should still read as one house.
A photo helps us prepare, but it cannot show a soft sill or an opening that has moved. The number comes after we measure and look at the opening in person.